17 Jul How to draw a face – Facial Proportions – front view
Drawing a face realistically and clearly recognizable is one of the biggest drawing challenges. The first and most important step is to draw the proportions correctly.
There is no sure formula, but here are some characteristics and tips.
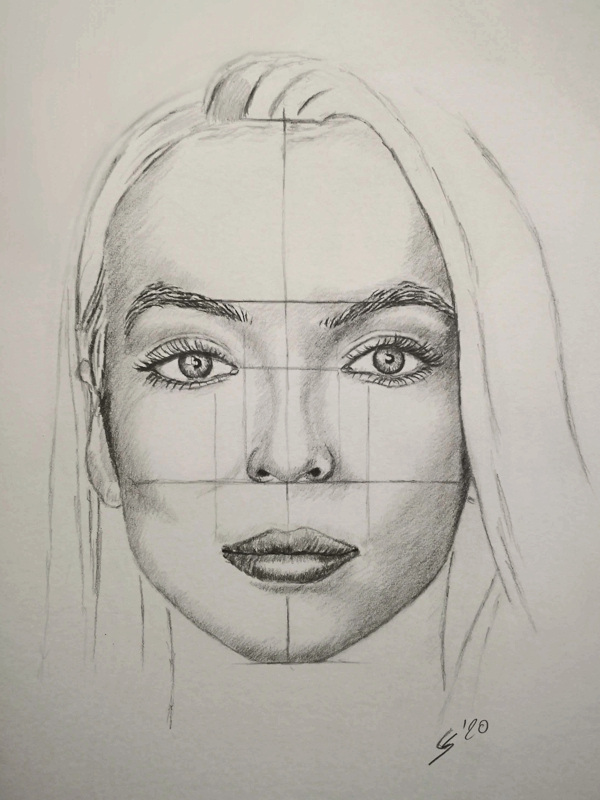
As an example I did a sketch of a very symmetrical face (Jodie Comer / Villanelle from the Killing Eve series):

The eyes are almost in the middle of the head. Therefore the distance from eyes to chin and eyes to vertex (top of the head) is approximately the same.
For illustration purposes, I added a horizontal line at eye level and a vertical line through the middle of the face.
The face can be divided into 3 parts:
1/3 ranges from the hairline to the middle of the eyebrows
2/3 middle of the eyebrows to the tip of the nose
3/3 tip of the nose to chin
Furthermore, the distance between the eyes measures approximately the width of an eye.
The width of the nose extends roughly to the inside of the eye, the corners of the mouth line up with the inside of the pupils of the eye.
However, it should be noted that each face is different and these dimensions can vary. That’s why we don’t look all the same.
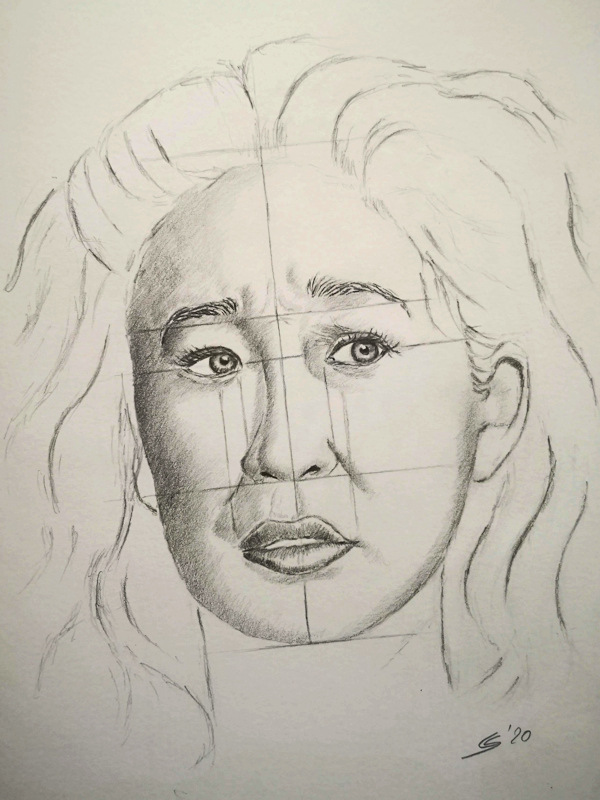
Here’s a second example (Sandra oh as Eve in Killing Eve) and a reason why you shouldn’t be too fixated on classical facial proportions:

The eyes are a good starting point again and are in the middle of the face.
But the 3-part division is not exact here. The eyebrows are significantly higher above the eyes and therefore the forehead appears smaller.
However, it ensures a higher recognition value and can be easier to draw.
It should also be noted that the head is slightly tilted to the side, therefore the eye-nose line is a bit imprecise.
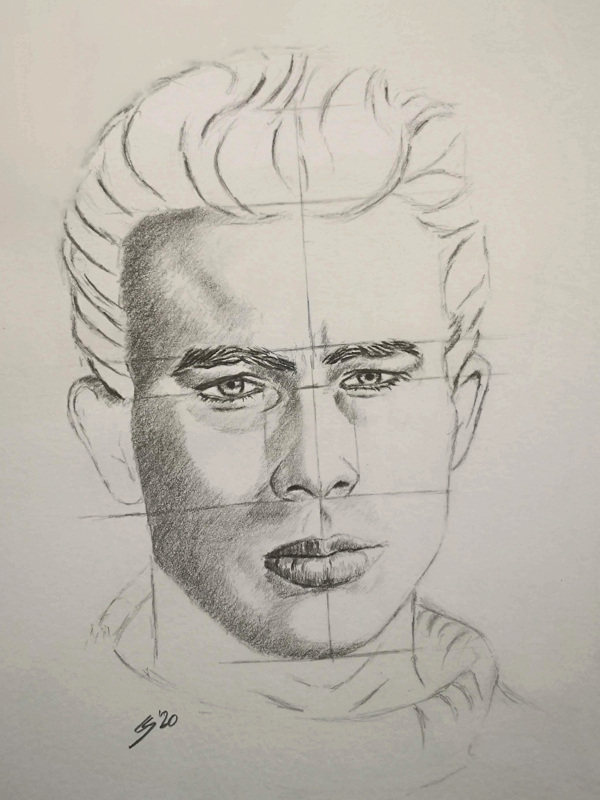
As a final example, here is a quick sketch of James Dean:

When it comes to proportions there is not much difference between drawing men and women. Some noteworthy characteristics though are that the forehead, chin and jaw are often more prominent, the eyebrows thicker and the lips thinner.
How to practice?
– Choose a template in 1: 1 size of the drawing and print it out.
– First analyze the proportions and insert them on the printout – eye-line, 3-part division a.s.o.
– Then try to transfer the proportions on paper as accurately as possible. I usually only use a pencil to measure the lengths and distances, but sometimes a ruler can be helpful.
– You can easily check the result with a photo editing software. To do this, place a photo of the drawing as a new layer over the original image and reduce the opacity. This makes it easy to see which errors there are and you can improve them.
Have fun!
